Friday, March 9, 2012

Maybelline Super Stay 14 Hr Lipstick in Beige Forgood: Swatches and Review

Hi guys!

I had a coupon for Maybelline and decided to use it to try one of the new 14 Hour Lipsticks in Beige Forgood. My favorite nude of all time is Prescriptive's Posh Nude, and I've been looking for a dupe for ages now that it's discontinued. Or even if I couldn't find a dupe, I'd settle for finding another nude shade that I thought flattered me. A lot of nudes give me "foundation lips" or look dark enough that they come off as a light brown rather than a true nude lip color. So, does Beige Forgood meet the mark?

Nope. File this one under "foundation lips"; it just kind of washes me out. I'm sure I'll end up using it now that I have it along with lip glosses or mixed in with other lipsticks, but on its own, Beige Forgood seems to have a bit of a grey cast that does absolutely nothing for my complexion. That being said, the formula of these new Maybelline lipsticks isn't my favorite, either. It's a bit tacky on the lips, which I suppose is part of the long-wearing formula, and has a plasticy-berry sweet scent that doesn't fade upon application. To be honest, I haven't made it past about an hour with this lipstick on before the scent and texture got to me and I wiped it off, so I can't say I've tested the 14 hour claim. It hugs the lip very tightly; it doesn't settle into lines, but it doesn't camouflage or cushion them at all. The formula is moist enough not to be drying, but it's not moisturizing, either.

Maybelline Super Stay 14 Hour Lipstick

Beige Forgood

Swatch of Maybelline Beige Forgood

Wearing Maybelline Beige Forgood

Maybelline Super Stay 14 Hr Lipstick: Beige Forgood

Summary: So, there you have it; not my favorite color, and not my favorite formula. I'm sorry I didn't give this enough of a go to let you know if it lives up to it's 14 hour claim, but the formula just kind of makes my skin crawl after a little while. The color doesn't look so awful in the pictures, but in real life it has a bit more of a dull grey cast to it. I don't hate this enough to want to get rid of it, but I don't expect to ever wear this product on it's own; its new life will be to lighten other lip colors and worn under lip gloss. I don't plan on buying anymore of these, though; it's not my cup of tea.

Wednesday, March 7, 2012

Belle Peacoque

Haha, sorry for the dumb title! I wanted to do a Peacock-inspired eye look, and the the colors in the result reminded me a lot of the color schemes employed by Alphonse Mucha in his Belle-Epoque era Art Nouveau posters. So of course I had to utilize a stupid pun.

As you may or may not have noticed, I've been doing a lot more neutral looks lately; some of this is not having much time to do my makeup on most days, some of it is wanting to focus more on lip and cheek color. But I've been kicking around the idea of using peacock inspired colors on an eye look; I didn't want to do anything too literal, but I was in the mood to use deep jewel tones on my eyes. The second thing I had going on was that I was out of town over the weekend and still haven't unpacked the makeup I took with me! I'm sure I overpacked; as a result, all of my tried-and-true basics are still in a travel bag in my as-of-yet-unpacked suitcase. I don't know about you guys, but I feel like I am more creative when I am working with restrictions; I can't fall back on the safe things that I know work. This also provided me with a great opportunity to draw inspiration from some older and under-used items in my stash, which is always fun! I also used a lot less foundation/ concealer than usual, and I was really happy with the way my skin looked, so I might try experimenting with sheerer applications of my different foundations to see if I can find a new sweet spot between getting enough coverage and getting a more natural skin texture than what I have been seeing with my current routine.

Take a look!


Here is what I used:


Face: Almay Primer, Benefit Stay Don't Stray (as concealer under the eye and to cancel out redness on my nose, and as primer on the lid itself), L'Oreal Infallible Foundation (very sheer application, focusing on the center of the face), NYC loose powder, Wet n Wild Color Icon Bronzer in Reserve Your Cabana (as highlighter on cheekbone, chin, and across forehead), Nyx blush in Raisin (to contour), Urban Decay powder blush in Quickie (on apples of cheeks).

Eyes: Benefit Stay Don't Stray (to prime; you'll notice above that I actually did this before my foundation and used it elsewhere on my face as well), Stila Smudgepot in Kitten (applied from lashline to brow bone), Aromaleigh Big Bang (focused in deepest part of crease), Aromaleigh Dark Matter (just above crease and blended up), Aromaleigh Alloy (top of inner corner and blended up and out into the crease), Meow Cosmetics Bast (top of outer corner into crease), Meow Cosmetics Reincarnation (middle of crease blended down onto middle part of lid).  Mark by Avon eyeshadow in Retro Peacock (outer corner, winged up and out), Urban Decay eyeshadow in Haight (patted on top of the bottom portion of Retro Peacock). Urban Decay 24/7 eyeliner in Lucky (on lower lashline), UD 24/7 eyeliner in Covet (on lower waterline), UD 24/7 eyeliner in Yeyo (on lower part of inner corner), UD 24/7 eyeliner in Binge (blended onto Lucky on lower lashline, and used to create cat-eye wing on outer part of upper lashline; I did not line the rest of the upper lashline). Revlon Colorstay #4 in Addictive Quad (to fill in brows), L'Oreal Voluminous Million Lashes Mascara (top and bottom lashes).  Note: I applied all of the eyeshadows avoiding the bottom center of the eyelid so that Kitten shows through there.

Lips: L'Oreal Infallible lipstick in Brazen Bronze, Revlon Colorburst lipgloss in Crystal Lilac.

I'm not thrilled with the way the lip color paired with the rest of the look; I wanted something that leaned coppery-brown and was glowy, but this wasn't exactly what I had in mind. Oh well.


The finished look

Cheeks! (Raisin and UD's old powder blush in Quickie)

Eyes

Outer Corner of Eyes

Lips: Brazen Bronze and Crystal Lilac

I am quite pleased with the way the eye look turned out! It's not what I usually do, in technique or in the colors, but I was able to pull out some products that don't get enough love and play around, which is always fun. I'm excited to try modified versions of this look until I get something closer to what I'd pictured in my mind's eye, but this was a neat and unexpected look.

Monday, March 5, 2012

Don't want to work!

Hi everyone! Here I am, sitting at my desk in front of my laptop, trying to make a concerted effort to get some work done towards what will become my thesis and I cannot get anything to happen. It would be more apt to title this post "Can't work!" I have had the worst case of writer's block I've ever experienced, and I'm not even writing yet! I am still researching, and this entire process intimidates the hell out of me. I am the type of person who hates change, and I got really comfortable in the coursework routine; I found a rhythm that worked for me and gave me great results, and all of the sudden that isn't working anymore. I am also learning how much I relied on the classroom environment for inspiration and motivation.  Have any of you guys been through this process? What did you find that helped you? I am trying to just break things down into really small steps and forgive myself for not being better at this; I'm at the point where the guilt I'm feeling at not having done more is really crippling. I know I'm not going to graduate this semester, but I'd really like to be done by the end of Summer, before the Fall semester starts up! 

Anyway, I decided that if I can't be productive in my schoolwork right now, I can at least be productive in writing up a blog post, and hopefully that will help motivate me to crack open one of the several-inches-thick volumes I have sitting next to me and take some helpful notes. It is in that spirit that I bring you... Owl's Lust! This is an old Nail of the Day that I had pretty much decided not to post. Even though it's a gorgeous red shade, it was limited edition (part of L'Oreal's Project Runway collection) and I already had some serious tip-wear going on by the time I got around to taking pictures. But I was going through old pictures looking for posts I'd missed, and  I decided that I should share this with you guys since I have such a soft spot for this color! 

Owl's Lust has the typical L'Oreal nail polish formula, which I like just fine, but I know some people have issues with it. It wears about average on me, and I don't find it any more difficult (or any easier) to work with than most formulas. Owl's Lust looks like it might be a typical darker red shade in the bottle, but on the nail it shifts between a brick-red and muted deep wine tone, depending on the light. It's quite the chameleon! 

I've got three pictures below that I think fairly accurately represent the spectrum of reds this can appear as depending on the lighting: 

L'Oreal Owl's Lust: no flash


L'Oreal Owl's Lust: flash


Owl's Lust: more flash! 

What do you guys think? Are you sad you missed out on this? I still think "Owl's Lust" is a really awkward name for ANYTHING, much less a nail polish. Haha, it actually makes me kind of uncomfortable! 

Sunday, March 4, 2012

NOTD: Sally Hansen Mousseline and Instant Coffee Leopard Print

More nail stamping! Will it ever end? Probably eventually... But not anytime soon! This is my favorite stamped nail design I've done so far; I used colors that contrasted with each other better but weren't too loud, and the design was definitely noticeable. I got a few compliments on my nails while I had this manicure, and people were really curious about how I did it. I used Sally Hansen Complete Salon Manicure in Mousseline as my base, and Sally Hansen Insta-Dri in Instant Coffee for the leopard print stamping. I love both of these colors, and they worked really well together. This was the first time I had worn Mousseline, a shade that I found on clearance at Ulta and was able to use a $1 off Sally Hansen coupon with, so I got it for next to nothing. After I put it on, I fell for it... hard! I actually went back to check and see if there was another bottle hiding in the clearance bin! (No luck.)

Mousseline and Instant Coffee


Mousseline as my base, Instant Coffee for the leopard print design

A couple of the leopard spots got smudgy (one of my little fingers was the worst offender, which is why you don't see it featured here), but I think that is just the nature of stamping. I'm sure that my success rate will go up the more I practice, but so far I have found it difficult to stamp my little finger (the curve of the nail seems too severe to get the stamper to roll across it easily without any smudging), and you have to be really, really careful that you scrape the plate really well and keep the area around the image clean of excess polish before you pick up the pattern; that's been the mistake I've made the most often. Oh well, I am still having so much fun with this! It's really satisfying to think I can do neat designs on my nails quickly, easily, and (usually) accurately. The lamest part is waiting for the base color to dry enough to stamp on without relying on fast-dry top coat!

Thursday, March 1, 2012

LOTD: Trying New Things

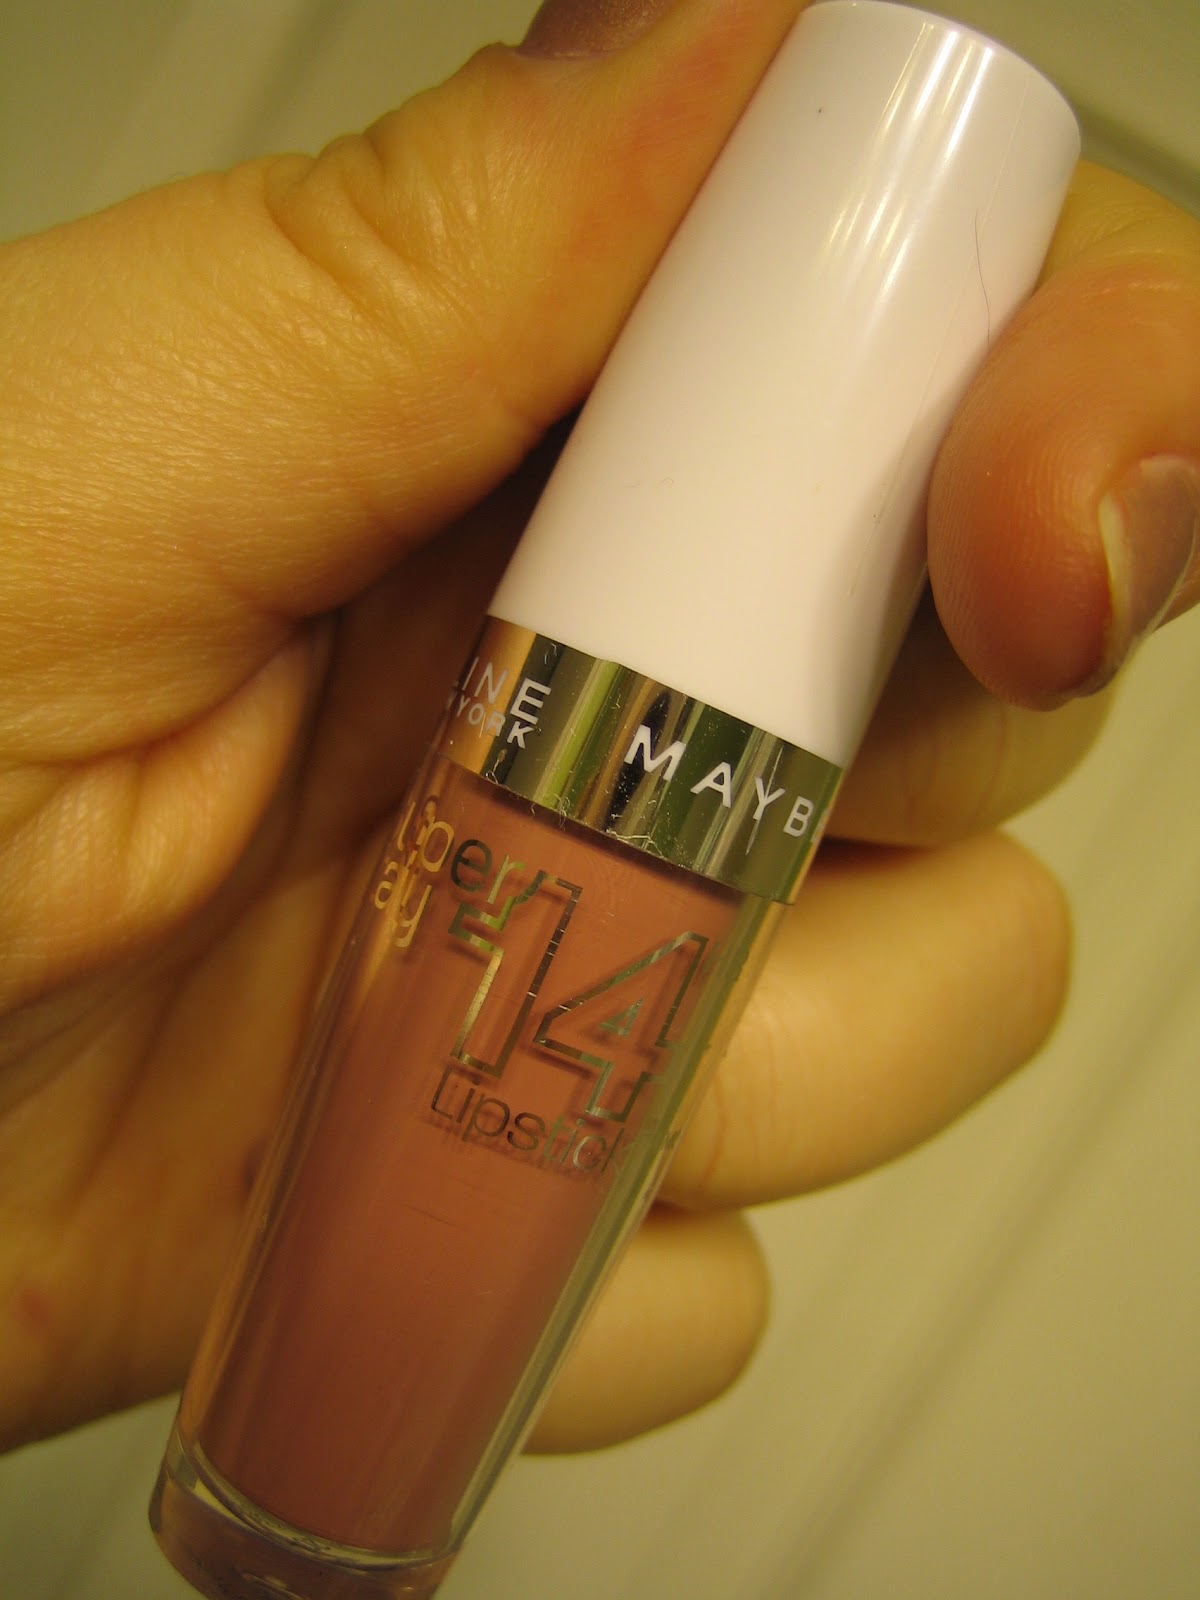
I realize I am way behind in posting things I've photographed, so I am going to try really hard to get through some of the backlog before it gets forgotten about! This is a look I did a little while ago, and I took these pictures the very first day I pinned my bangs back! (Hence the frizzies around the edges of my face...) I was also test driving a couple of fun, new products; I have a sample of NARS' Illuminator in Orgasm that I have been playing around with, and this was the very first time I wore a new eyeliner, Sephora's Smoky Kohl Eyeliner in Copper. I'll be featuring reviews of those products once I've had  chance to work with them some more and can give you some more details. (spoiler alert:  The Smoky Kohl Eyeliner is not smoky, nor is it kohl. It's a really pretty color, though!)

I feel like I've been posting strictly neutral looks lately, and this isn't much of a departure. I've really been feeling browns and taupes and coppers lately! However, I am using a couple of new goodies for this look, so at least I'm getting different products into the rotation.

What I used: (Woo, that's my vanity I'm photographing on! Exciting, right? I am like a little kid, I'm so excited that I don't have to sit on the floor and do my makeup in front of a full-length mirror anymore!)


Face: Almay Primer, Hard Candy Glamoflage concealer, Rimmel Lasting Finish foundation (all over face), L'Oreal Infallible foundation (across cheeks and nose to help cancel out redness), Smashbox Illuminating lotion in Flash (as brow and cheekbone highlight), NARS Illuminator in Orgasm (on cheeks as blush), NYC loose powder, Tarte Smooth Operator loose powder (to help mattify the T-zone area), Benefit Hoola Bronzer (around the edges of the face and under cheekbones), Wet n Wild Color Icon Bronzer in Reserve Your Cabana (across forehead, on the tops of cheekbones), Hard Candy Baked Blush in Pin Up (over fullest part of cheek and top of cheek bone), Bare Minerals blush in Glee (on apples of cheeks and into the contour). 

Eyes: NARS Smudgeproof Eyeshadow Base, NARS eyeshadow in Cairo (from lashline to crease), NARS eyeshadow in Lola Lola (on outer 1/3 of lid and into crease), Ulta eyeshadow in Sandstone (from inner corner sweeping over the top portion of the crease), Urban Decay eyeshadow in Sellout (blended from top of Sandstone to brow bone, on inner corner), Sephora Smoky Kohl eyeliner in Copper (top and bottom lashes), Urban Decay 24/7 liner in Baked (bottom lashline, middle 1/3 of upper lashline), Urban Decay 24/7 liner in Zero (smudged into lashline on the outer corner of the eye), Prestige My Biggest Lashes Mascara, Prestige eyebrow pencil, Anastasia Brow Gel in Caramel. 

Lips: Nyx Round Lipstick in Violet Ray (on the center of the bottom lip), Avon Smooth Minerals Lip Gloss in Nude Glaze (? I can't find the package, it doesn't say on the tube, and this doesn't seem to be on Avon's website... I believe it's called Nude Glaze.) 

The look: 


Cheeks

Eyes

Eyes closed :) 

Lips

I've really been loving this lip pairing, I've worn it a couple of times in the last week or so. I couldn't get the shimmer and slight iridescence to show up in the photos, but Violet Ray is a really neat shade; I'll have to do some lip swatches of it on its own for you guys. I've also been loving having my bangs pulled back! It's been such a pleasant change; I don't have to worry about constantly having hair in my face or compulsively checking my bangs. I've also been able to let my hair air dry. It gets really irregularly curly when it air drys, and even if I flat-ironed (which looked really unnatural) or blow-dried my bangs, they didn't "match" the rest of my hair. I think they were really cute, but I'm ready to say good bye to the inconvenience. I foresee a lot of bobby pins in my life for the next couple of months while I wait for them to get long enough to wear down!